
Flying Through Space
installations
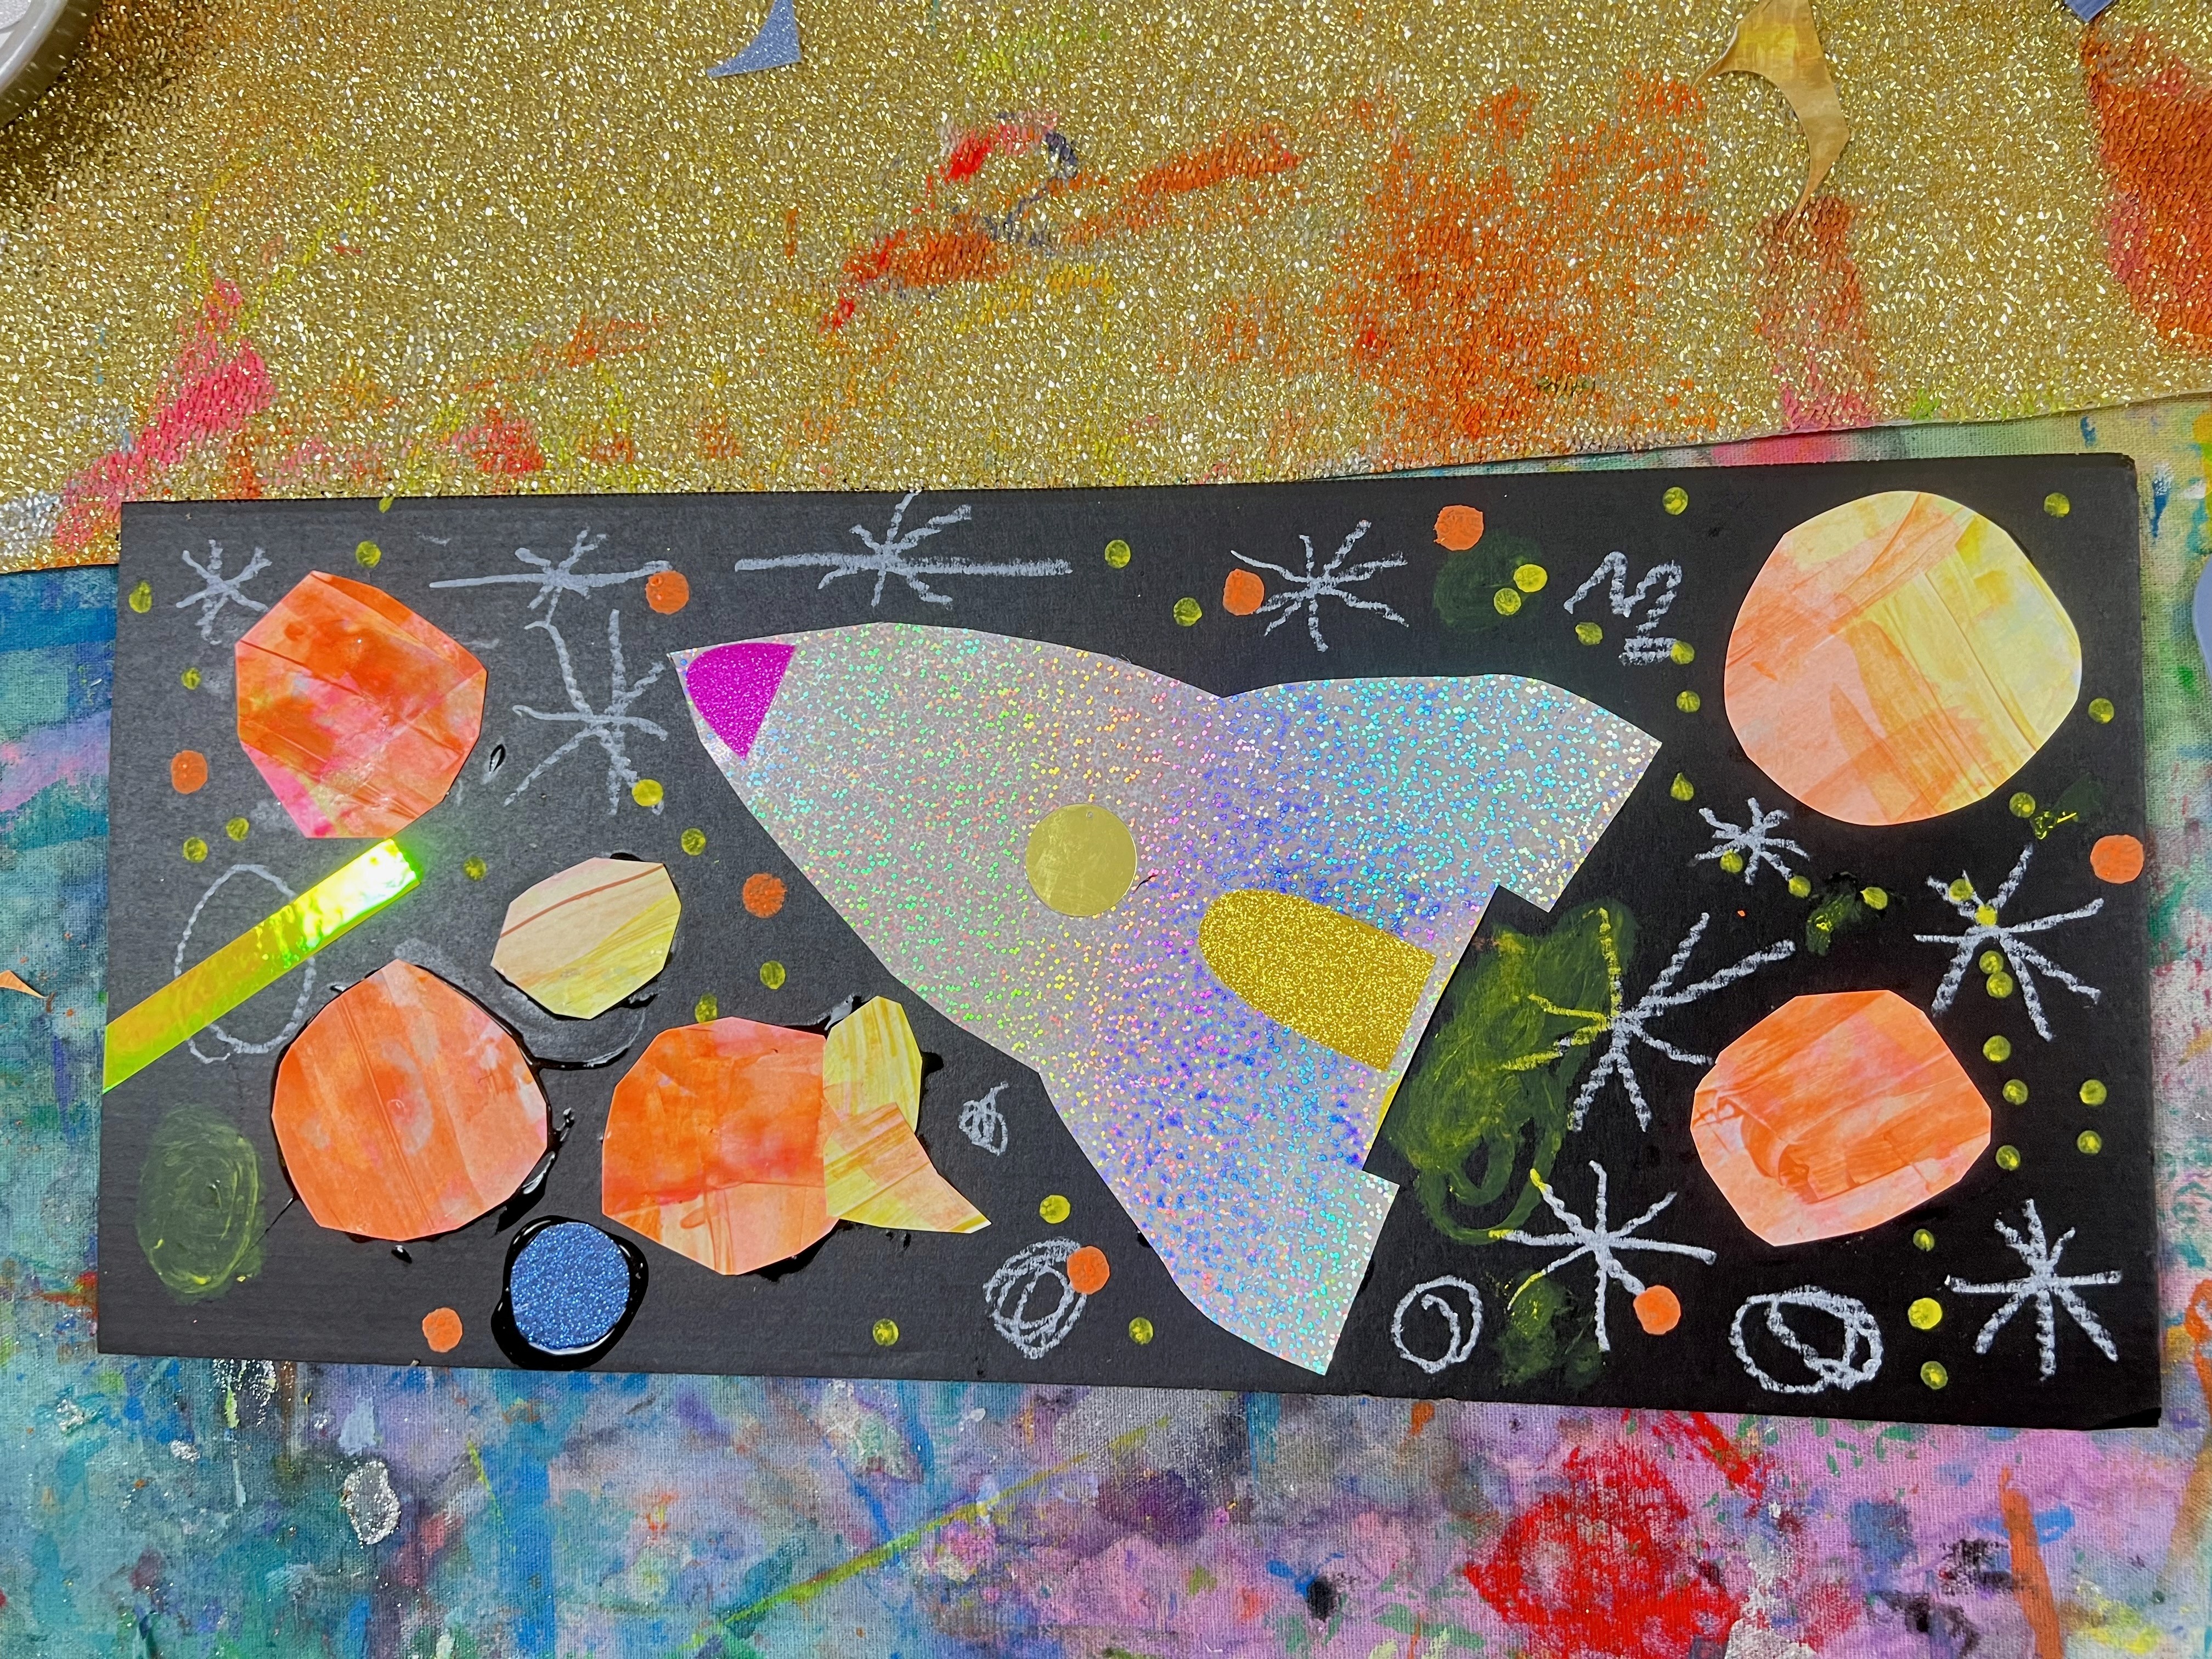
A cardboard rocket big enough to climb inside
Gather these before you start.
- One enormous cardboard box (panel beaters, appliance stores, furniture stores)
- Cardboard scissors or MakeDo chompsaw (adults only for the big cuts)
- Metallic foil rolls for the wall (silver and blue party foil)
- Hanging foil tinsel curtains (party shops, around $8 each)
- Cardboard off-cuts for planets and stars
- Fishing line or string
- Fairy lights (battery-operated is easiest)
- Poster paints in deep blues, purples, magentas
- Big brushes, rollers, splatter brushes
- Oil pastels for detail
- Metallic poster paint in gold and silver
The Set Up
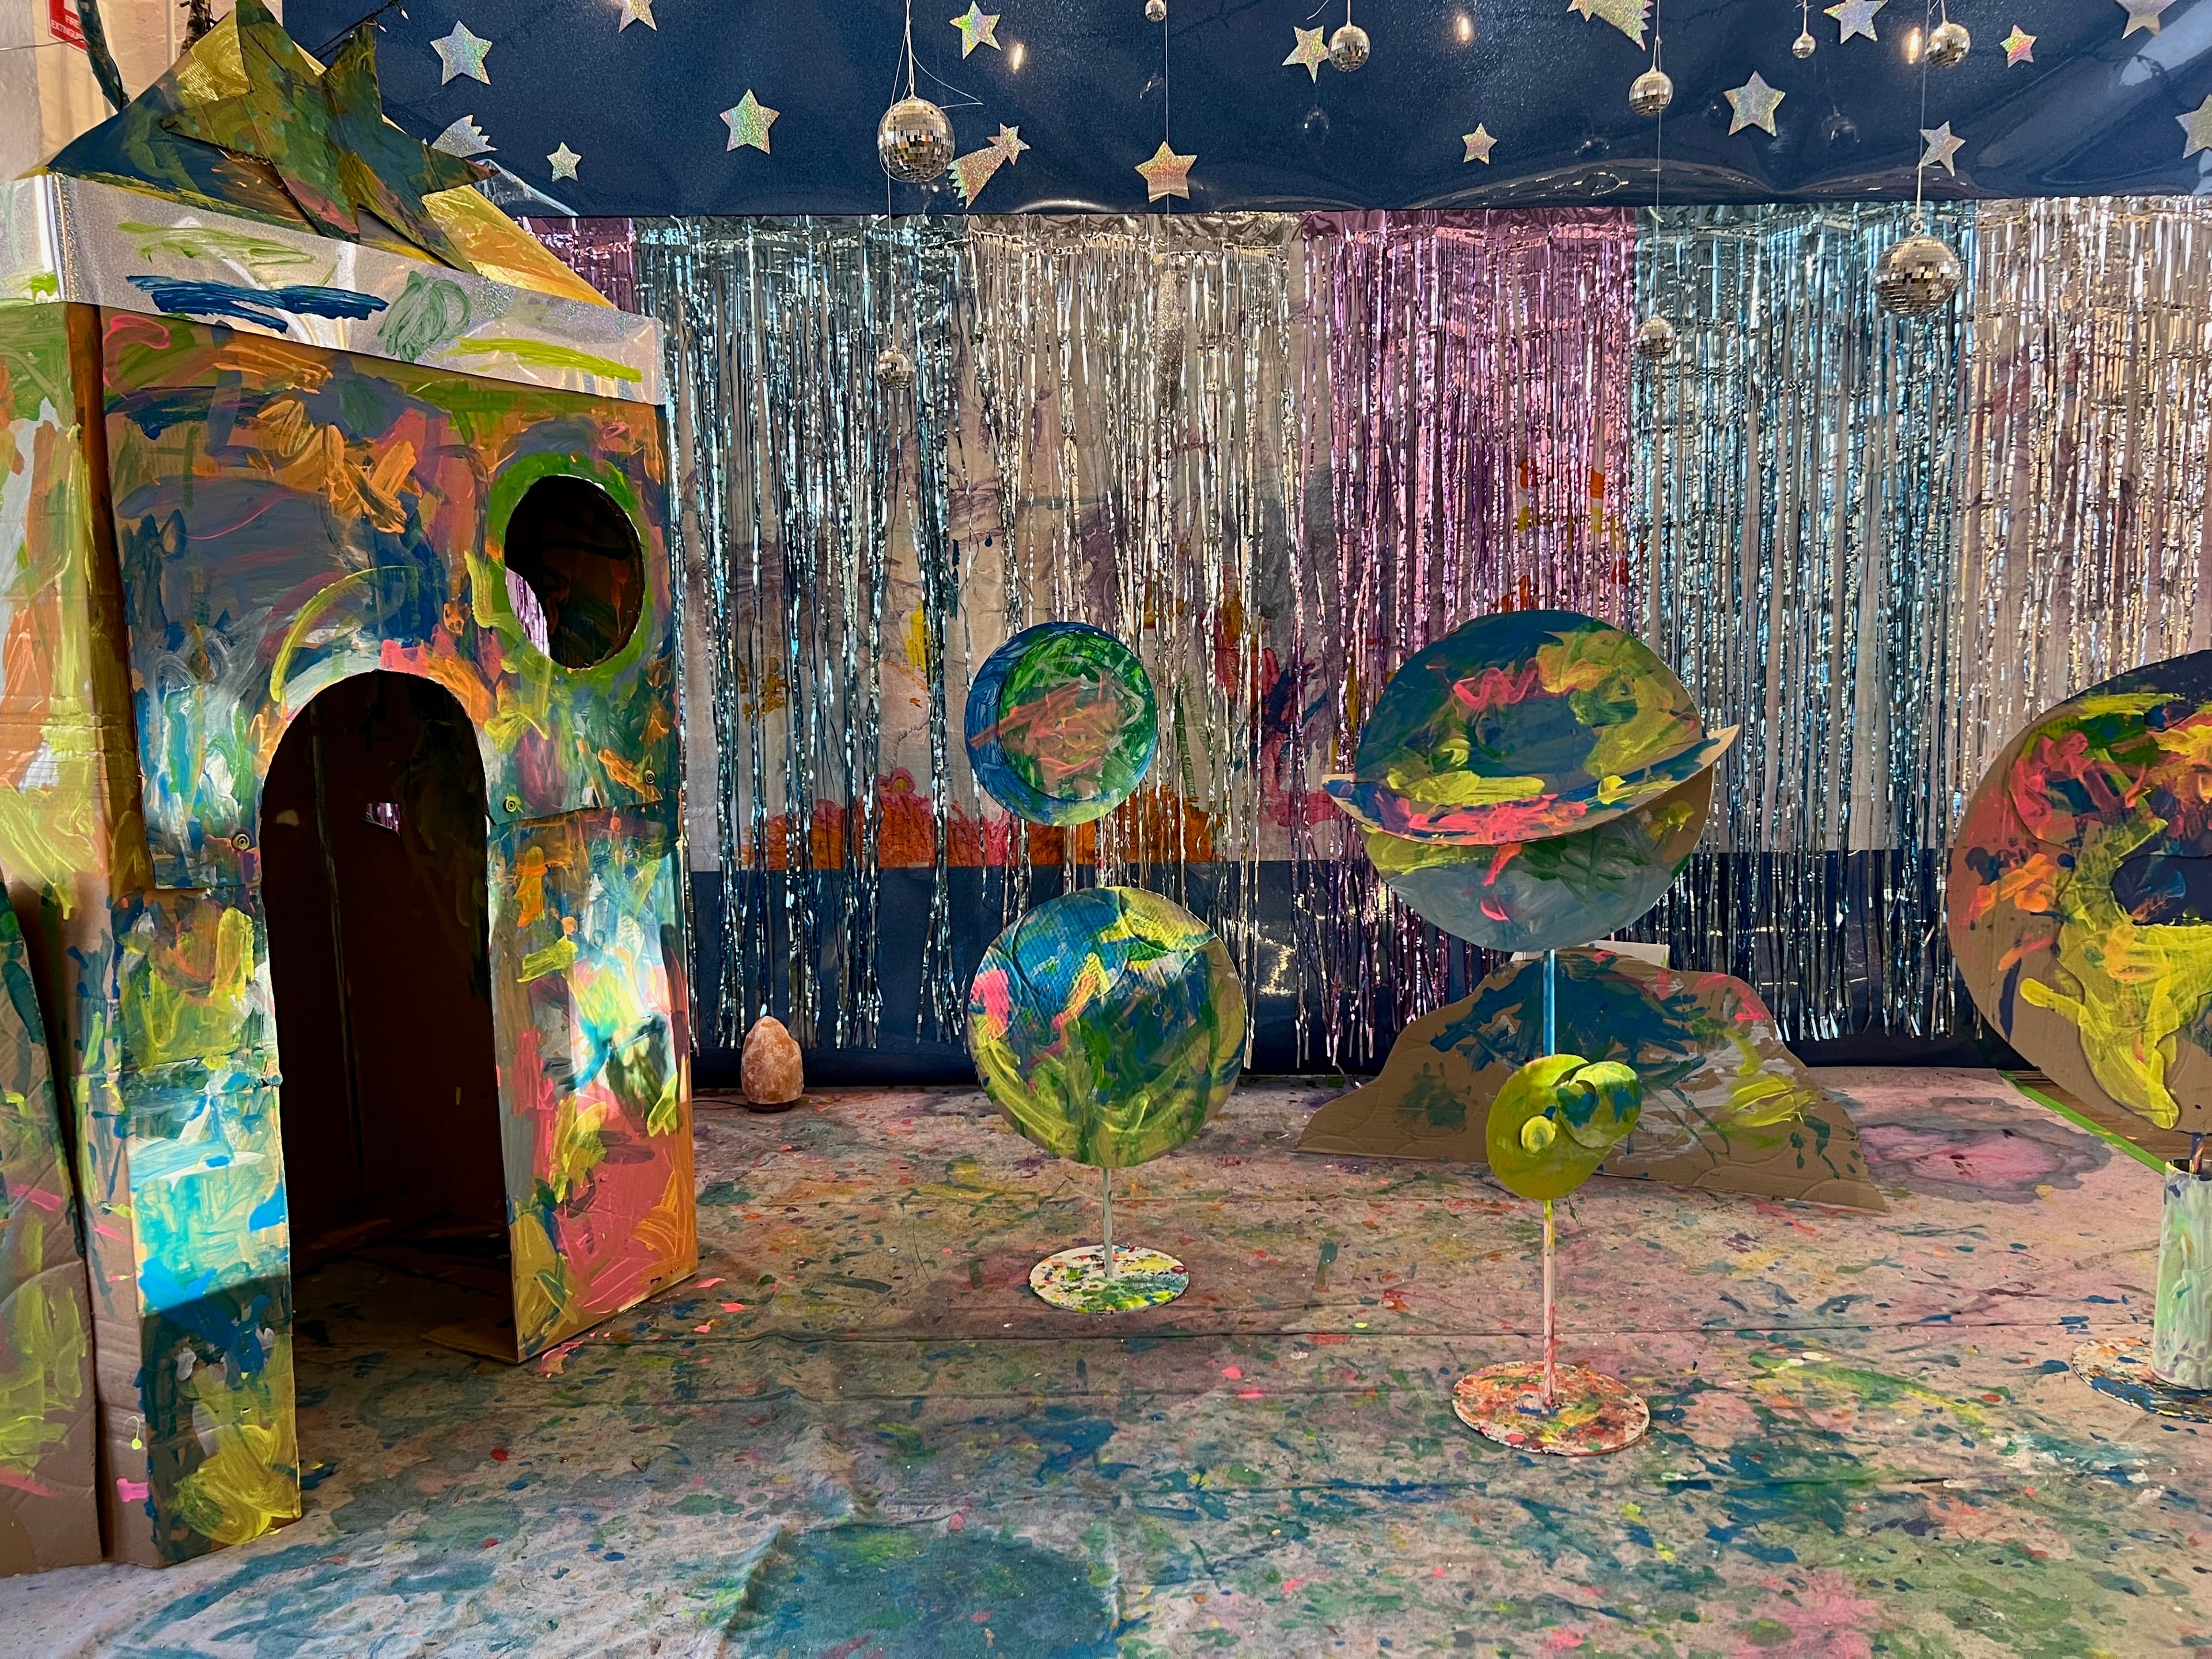
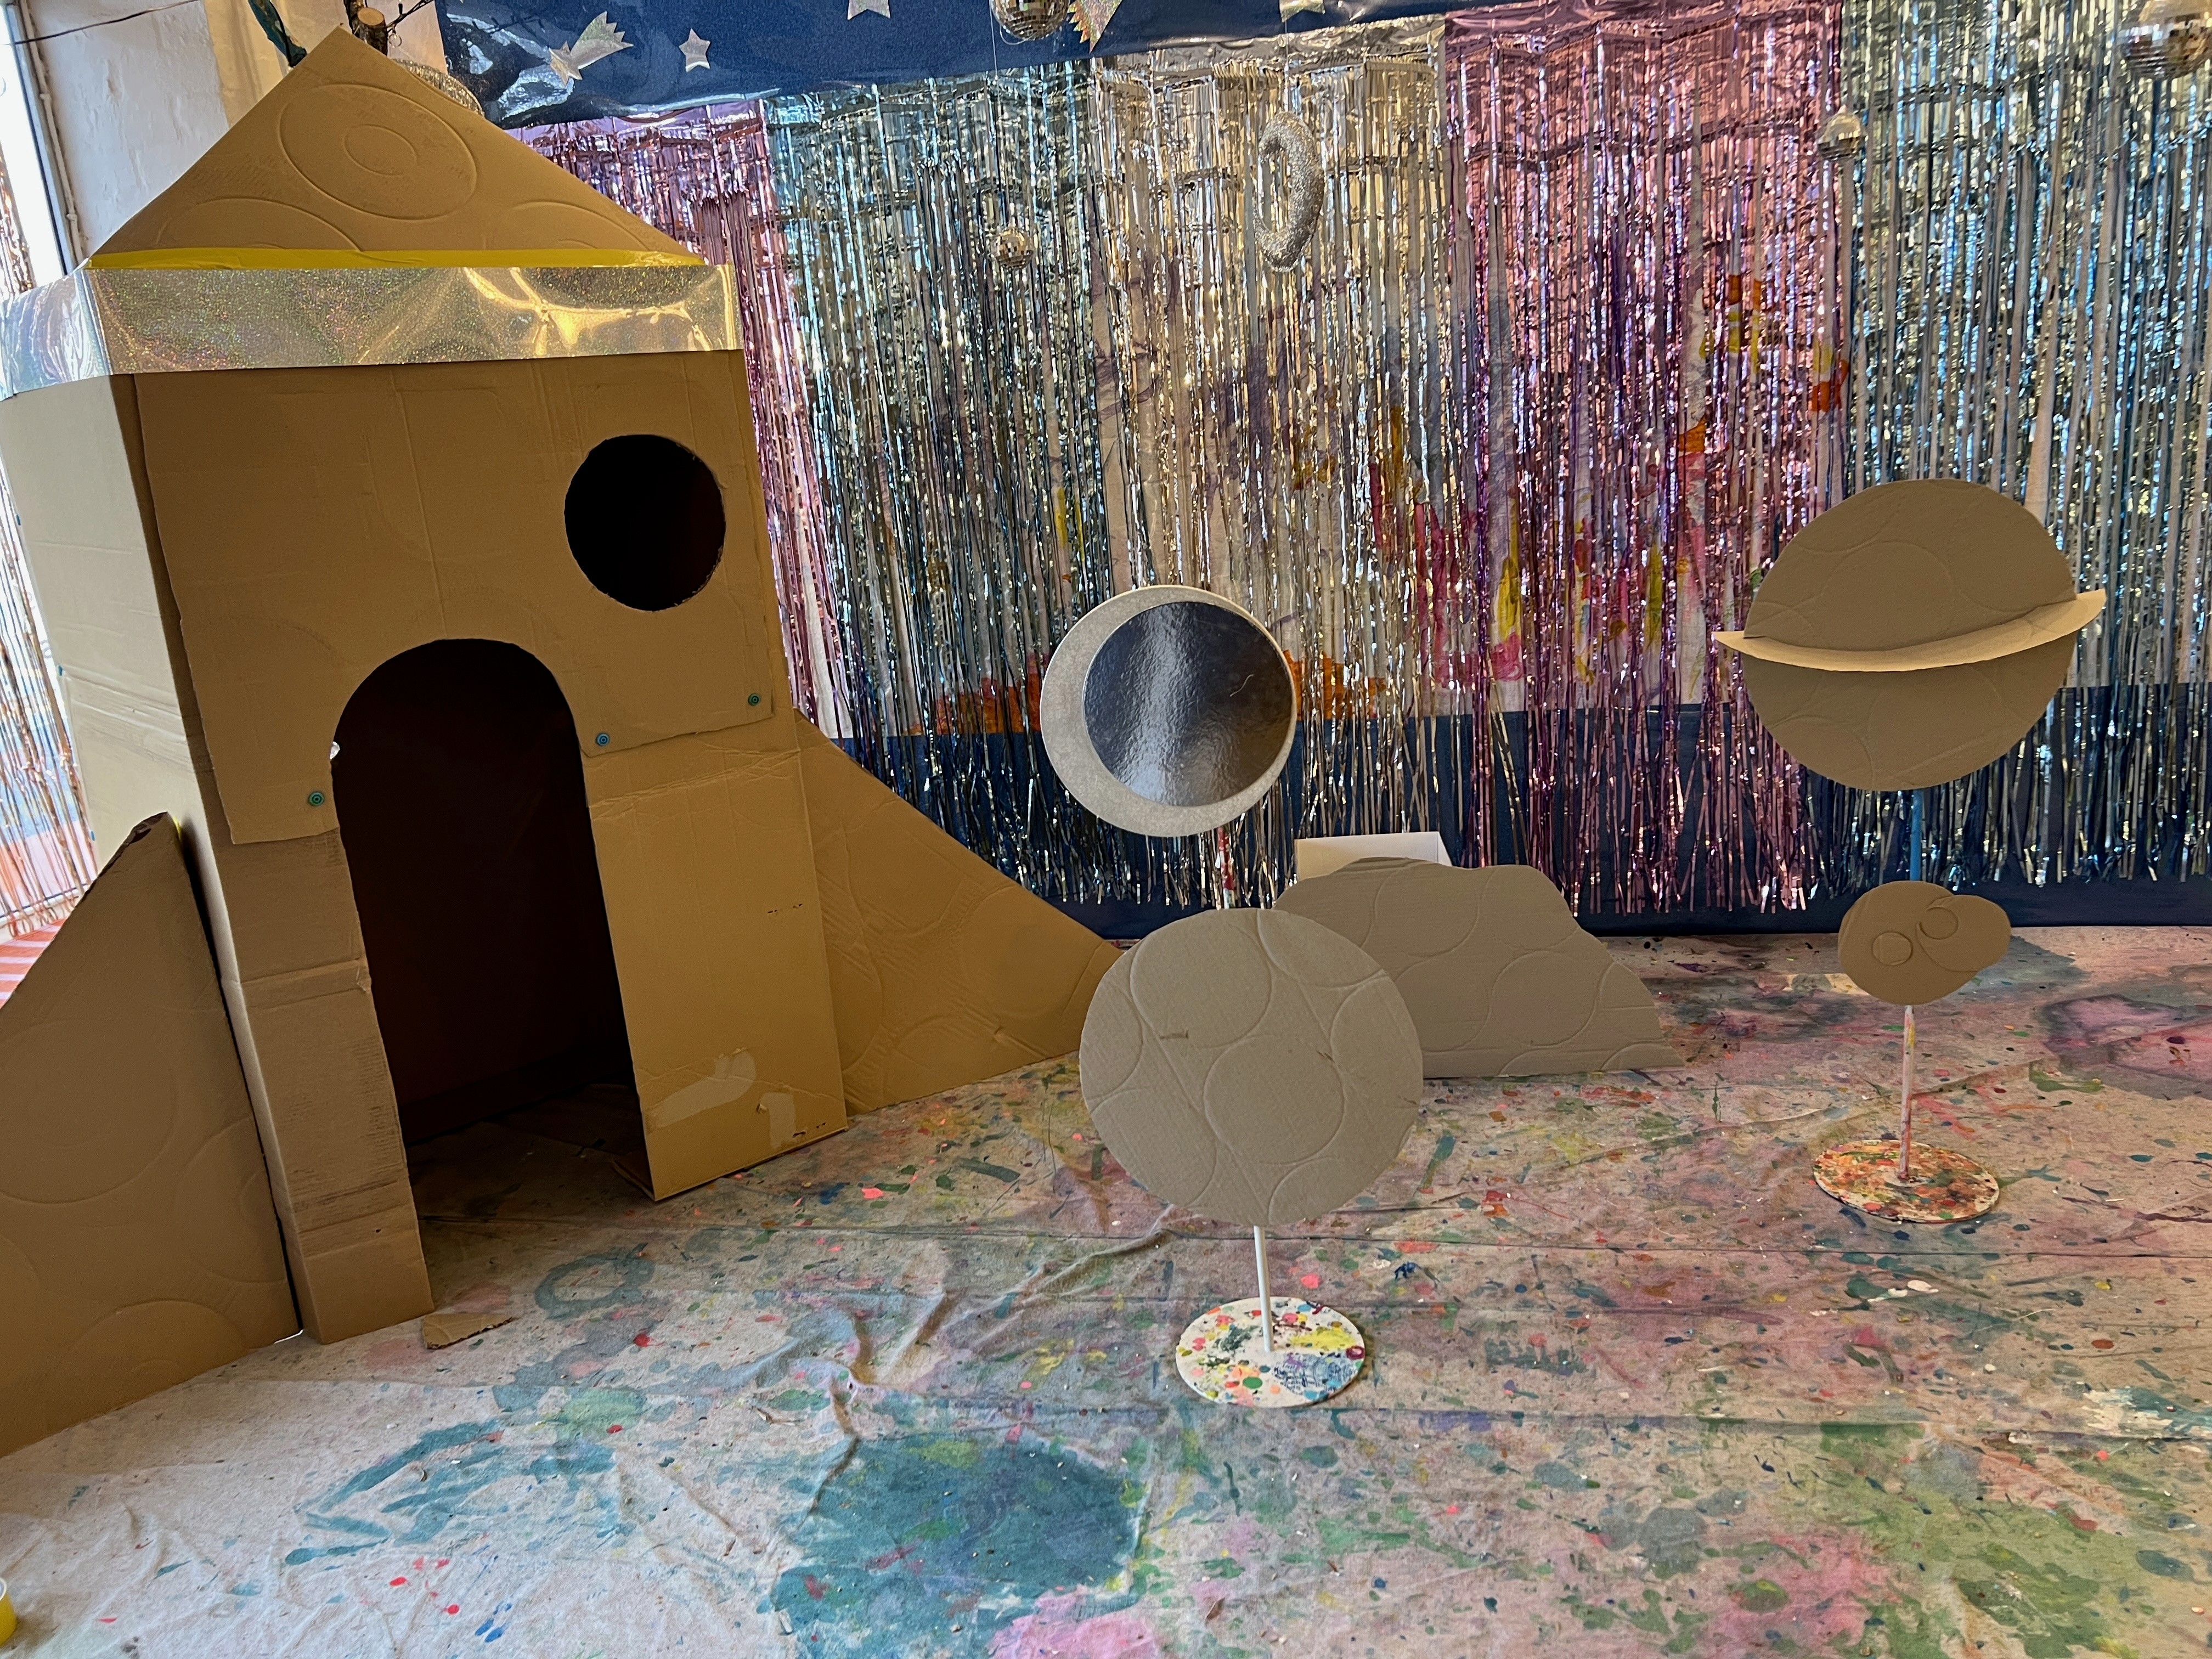
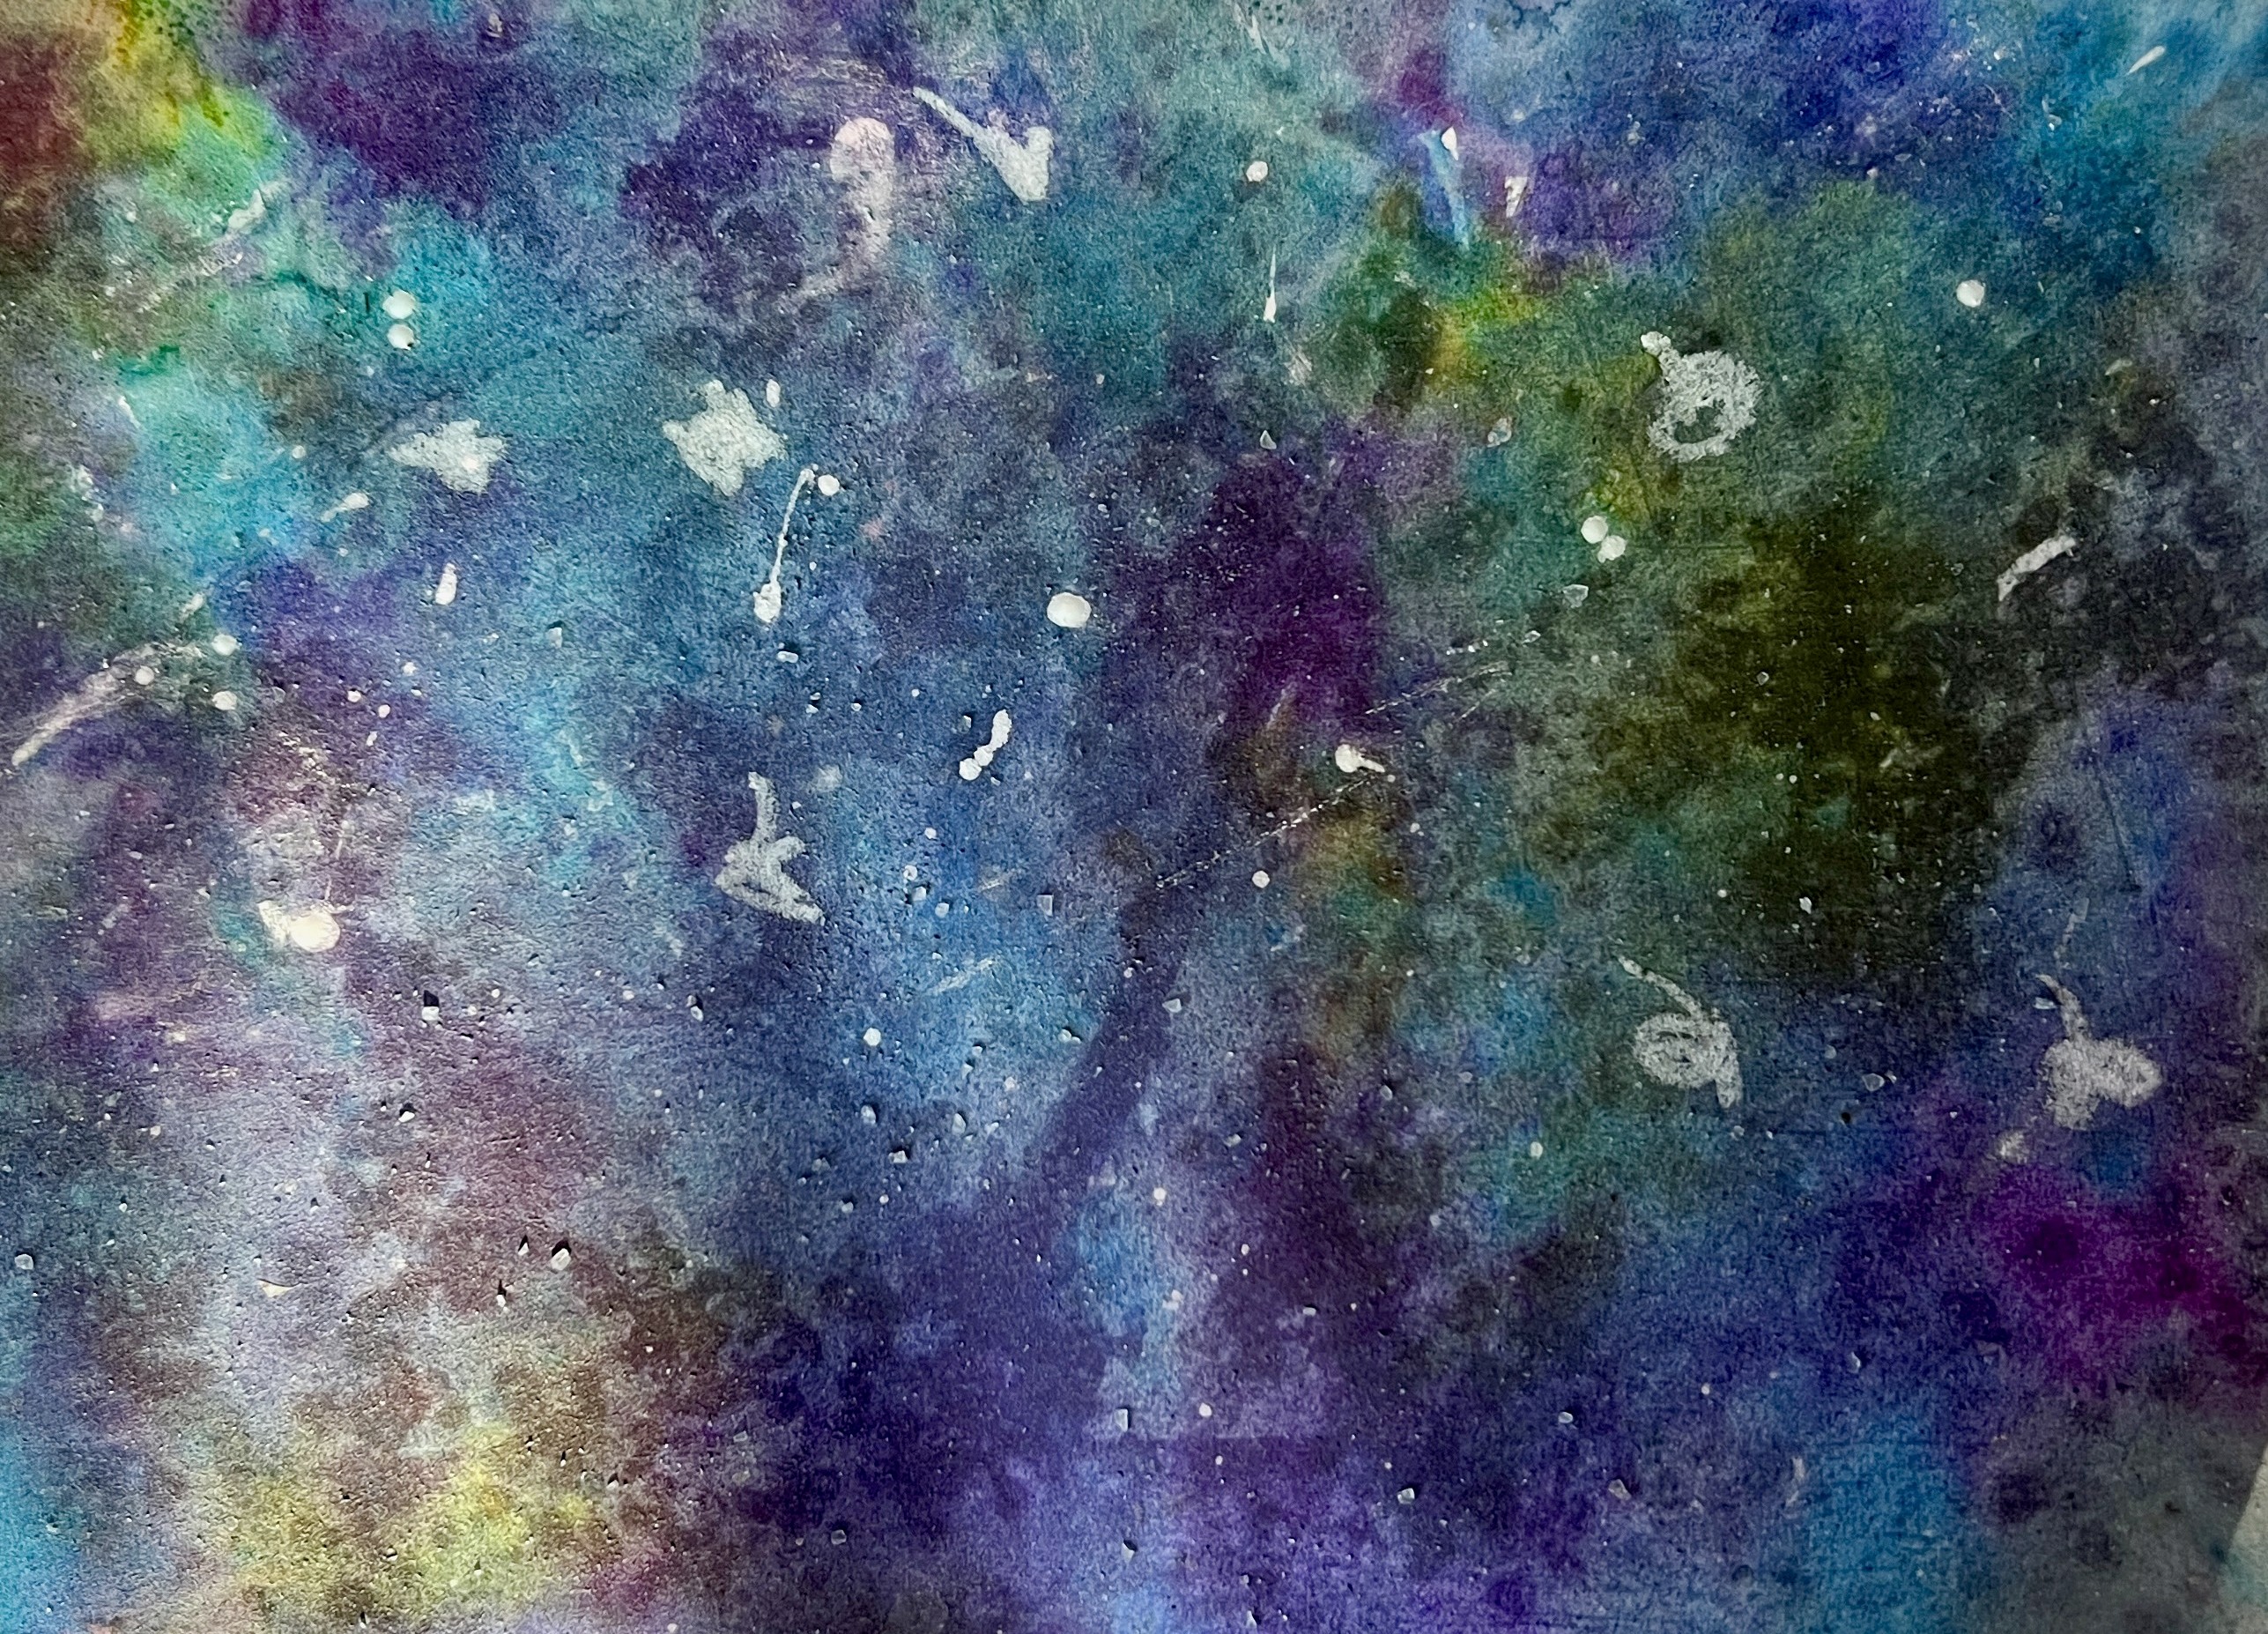
We are so lucky at Smudge to back directly onto a panel beater. For this theme I wandered over one afternoon and asked if they had any enormous car part boxes going spare. They did. The biggest cardboard box we've ever had in the studio. Big enough for a five-year-old to stand up inside with plenty of head room. If you don't have a friendly panel beater next door, any appliance boxes would work beautifully. Ask out the back of a white goods store, they're usually more than happy to give them away. Fridges, washing machines, and dishwashers are your best bet for rocket-sized cardboard. Cut a doorway on one side and a round porthole window on the other. Leave the top flaps long so you can fold them into a pointed nose. Don't worry about the shape being perfect. A slightly wobbly cardboard rocket has far more charm than a precise one, and kids don't care about engineering accuracy, they care about whether they can climb inside. The other half of this installation is the backdrop. We taped metallic foil directly to the wall, the cheap party-supply kind that comes on a roll in silver and blue. Paint on foil is its own kind of gorgeous. It has a wet-looking sheen and the brush makes an incredible crinkly sound that kids cannot get enough of. Layer hanging foil tinsel curtains (party shop, about $8 each) from the ceiling, cut giant stars and cardboard planets to stand against the wall or hang from the ceiling on fishing line, and string fairy lights through the whole thing for a bit of a glow.
The Making
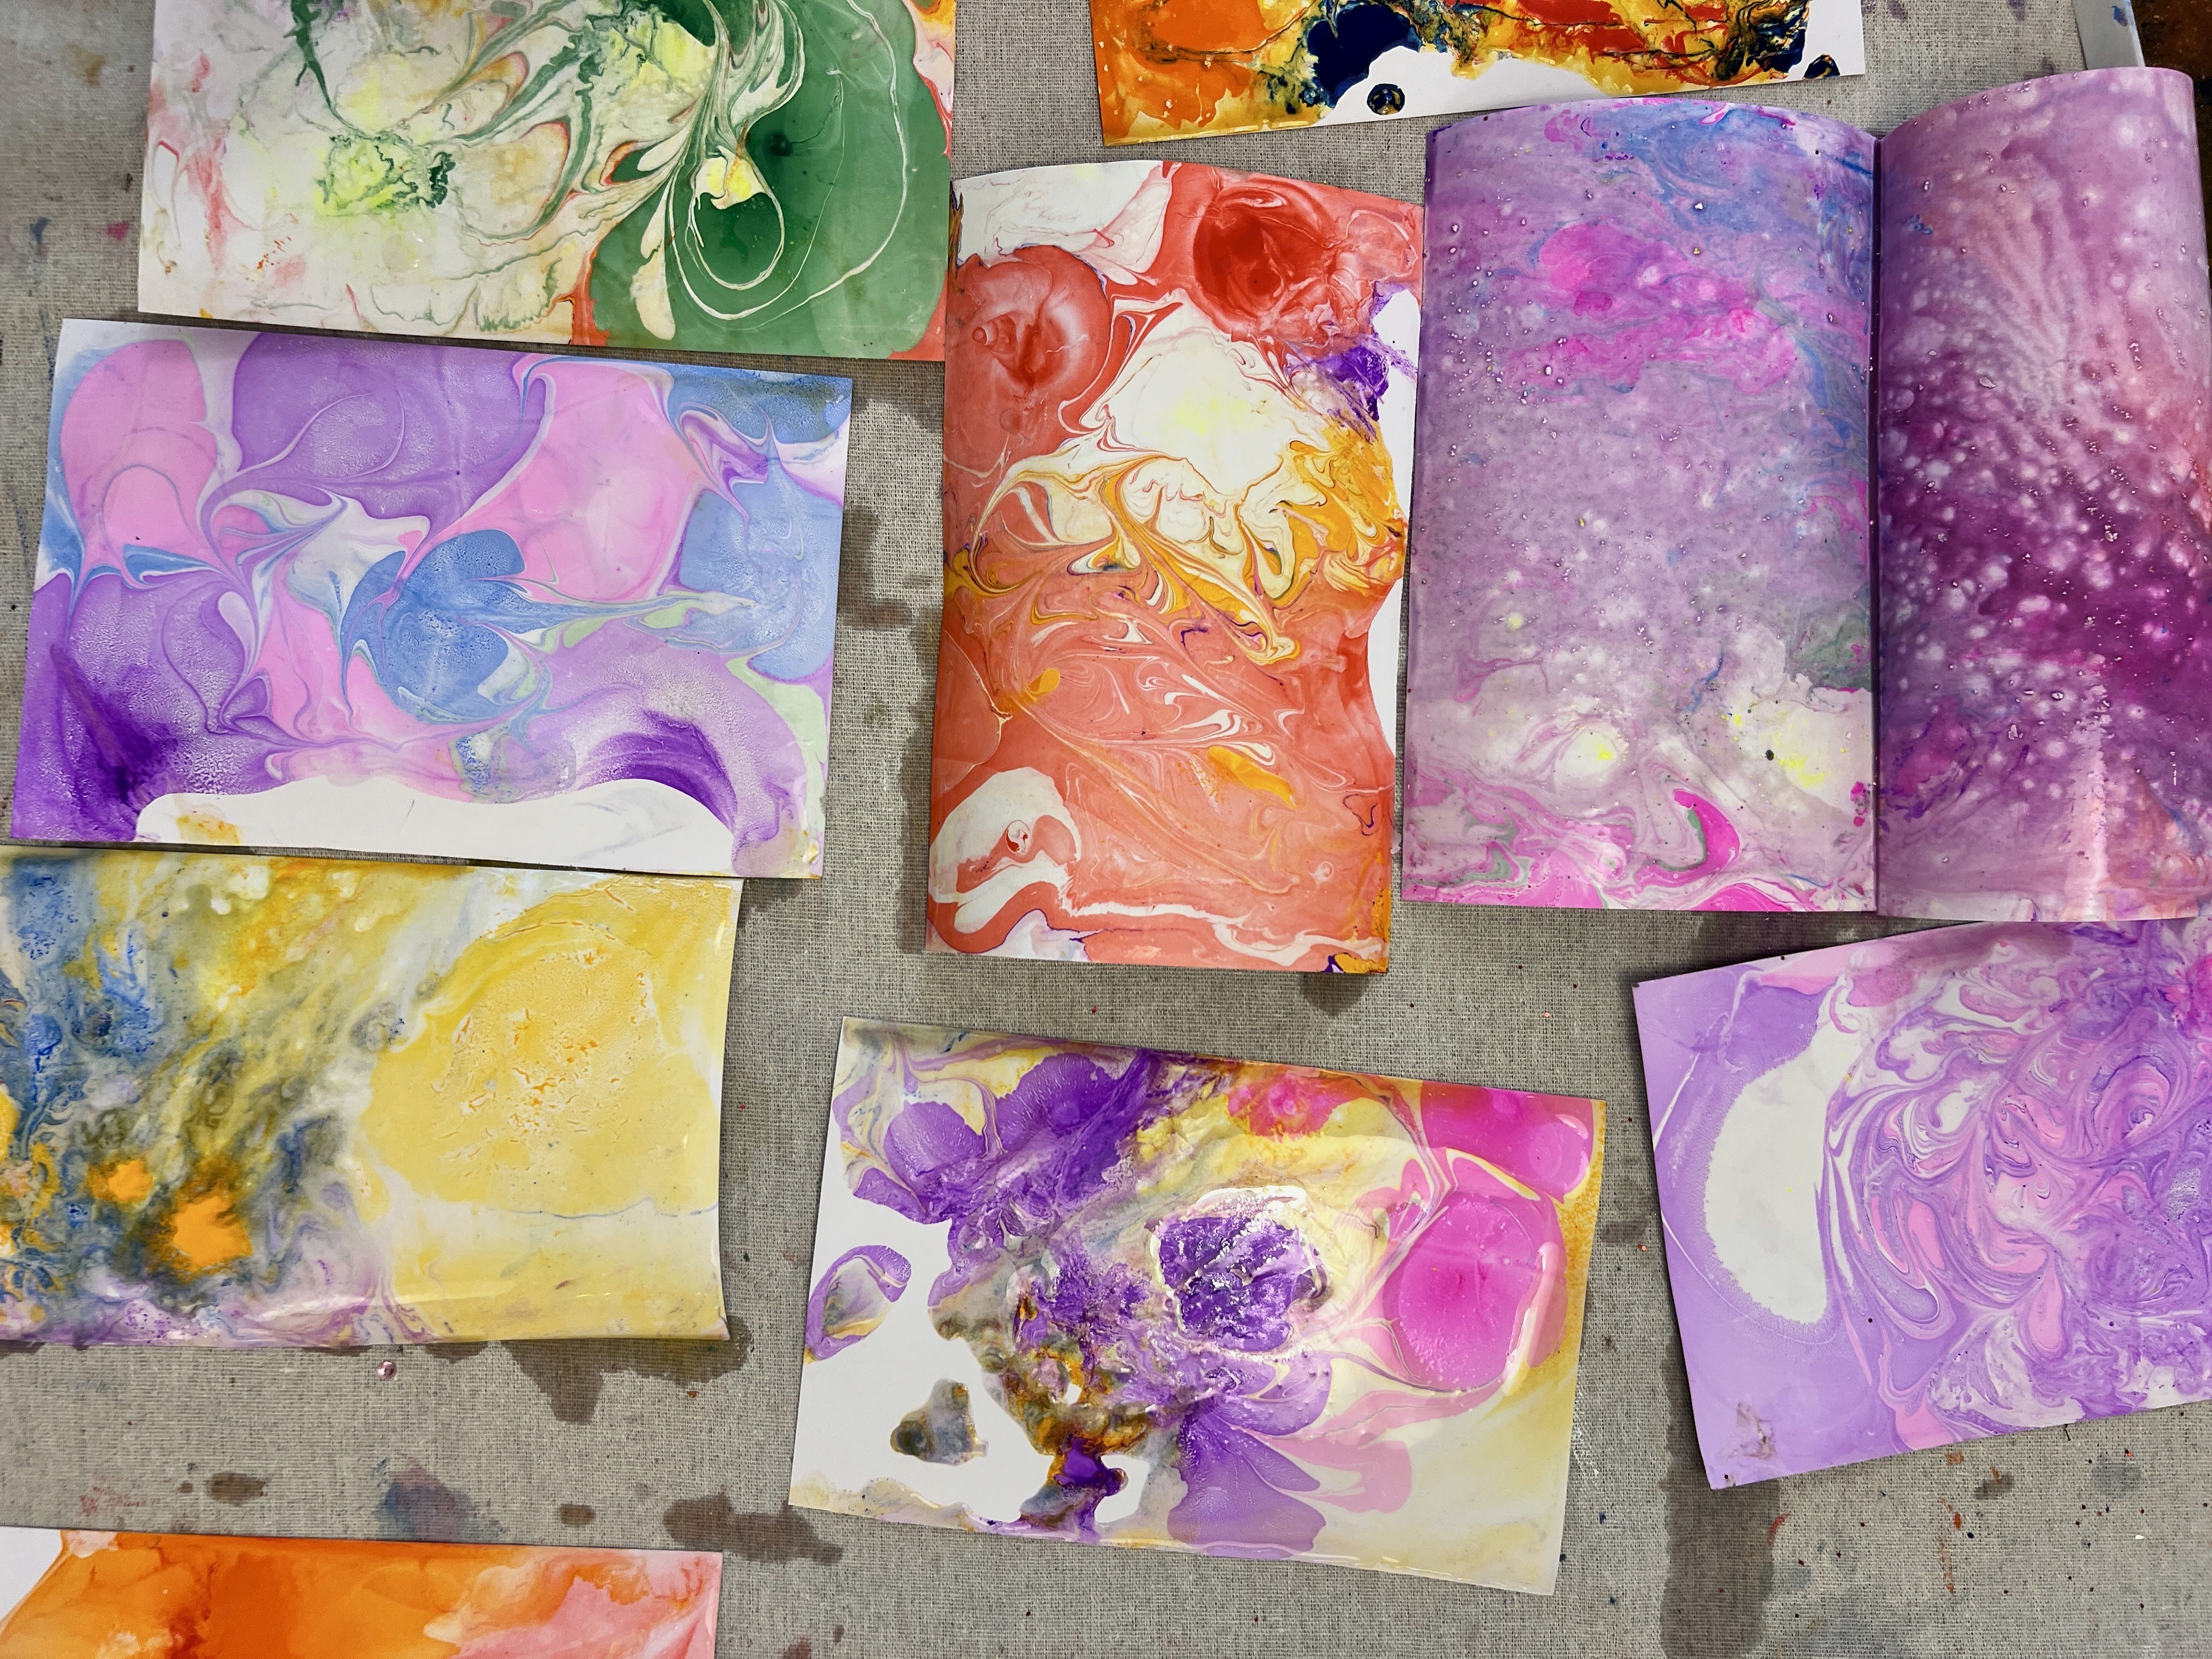
The rocket becomes a whole ecosystem of its own within about five minutes of being in the studio. Kids climb inside, pilot it, paint the outside, add details, poke their heads out the porthole window. Someone always tries to fit three people in. Someone else always decides the rocket needs more windows. The wall painting is where the most gorgeous layering happens. Bright paints pushed across foil create these slick streaked skies that actually look like the swirling colours of a galaxy. Add oil pastels on top once the paint has dried for sharper detail, and flick a bit of metallic poster paint with a splatter brush for far-away stars. The whole backdrop builds up across the week as new artists add their layer. Smudge Tip: Photograph the installation every afternoon before you leave. It changes so much day to day, and that progression is gorgeous for your socials and for sharing with families at the end of the week.
Variations
If you don't have space for a full-size rocket, smaller cardboard boxes work (shoe boxes, tissue boxes, cereal boxes) and kids can paint and assemble their own mini rocket to take home.